To create a Picture guide, you need a program that can take screenshot. One of the best programs you can use is: Snipping Tool.
Another way to take a screenshot is to use the screenshot button on your keyboard, which you can take a screenshot of the entire screen and then cut the part you do not need.
The important point in the Picture guide is that you have to explain the work step by step in simple language and show the description in the form of a photo at the bottom, and if something is to be done, show it with arrows or various symbols.
The example explains how you can download the Snipping Tool program:
1. First, enter the link below.
https://download.cnet.com/Free-Snipping-Tool/3000-13455_4-77745838.html
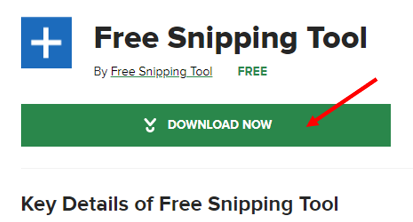
2. Then click on the Download now button as in the example:
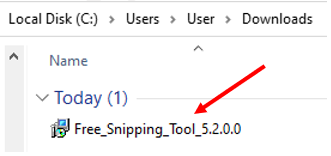
3. Then find the file in the downloads folder and double click.
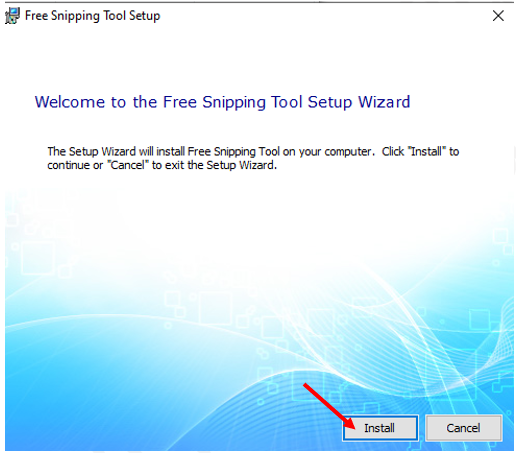
4. After double-clicking, the page opens like an example for you to click on the Install button.
5. Then wait for the program to install.
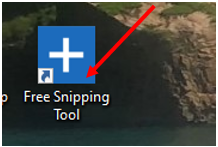
6. Appears automatically on your desktop after installation.
7. After finding the program on your desktop by double-clicking on it, the program will open for you.
8. After opening the mouse app, it becomes a plus that you can take a photo of a part of the page by holding down the left click.
9. Using the buttons below, you can copy the photo you took or save it to a file.